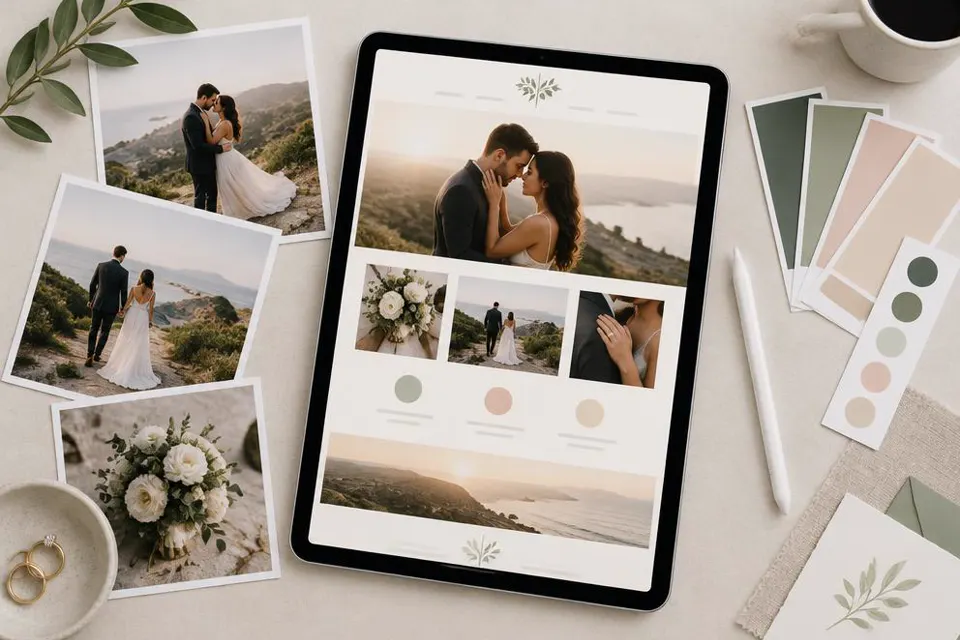
Why You Need a Wedding Website
Learning how to make a wedding website starts with understanding what it actually does for you and your guests, beyond simply looking nice online.
A wedding website is a single page, or a small set of linked pages, that holds every detail a guest might need about your wedding. Instead of answering the same questions over and over by text message, you point everyone to one link that already has the answers, from the date and venue to parking, dress code, and your registry.
For guests, it removes guesswork. For you, it removes repetition. A good wedding website also grows with your planning, so you can add details as they are confirmed, such as a hotel block once you have negotiated it, or a final schedule once your ceremony and reception times are locked in.
Many couples also use their wedding website as the RSVP system itself, which keeps every response in one organised place instead of scattered across calls, texts, and comments on a group chat. This is especially useful once your guest list grows past a size you could comfortably track from memory.
Who actually needs one
Every couple benefits from a wedding website, but it becomes especially valuable if you have a guest list larger than around thirty people, guests travelling from out of town, multiple events such as a welcome dinner or a post wedding brunch, or any detail that is likely to change before the big day.
What a wedding website typically replaces
- Mass text messages repeating the same information
- A spreadsheet you manually update after every phone call
- Printed direction cards and separate RSVP cards
- Several different group chats trying to track who is coming
Choosing the Right Platform
The platform you build on determines how easy the whole process feels, both while you are setting it up and later when guests are using it.
Some platforms are purely visual page builders with no RSVP functionality built in, meaning you would still need a separate form or spreadsheet. Others combine the website, the invitation, and a full RSVP and guest messaging system in one place, which saves a significant amount of manual work later.
Pay close attention to how guests respond, not just how the website looks to you. A platform that requires a guest to create an account or download a new app will always lose some replies compared to one that lets guests respond through an app they already use daily. This is why My Joyfullday built its RSVP system around WhatsApp, since most guests across most age groups already know how to use it without needing instructions.
| Platform type | Strength | Thing to watch for |
|---|---|---|
| Basic page builder | Fast to set up, simple design | Often no built in RSVP tracking |
| Blog style wedding website tool | Good for storytelling and photos | Can be heavier to load on slow connections |
| All in one wedding planning platform | Website, RSVP, and guest messaging together | Takes slightly more setup time upfront |
| Custom built website | Fully unique design | Requires technical skill or a paid developer |
Questions to ask before choosing a platform
- Can guests RSVP without creating an account or downloading an app
- Can I edit the site myself after publishing, without coding knowledge
- Does it include guest list and RSVP tracking in one dashboard
- Is the guest facing experience free of unrelated advertising
- Is there real human support available if I get stuck
- Is there a free period long enough to cover my planning timeline
My Joyfullday offers a free three month period to build your wedding website, collect RSVPs through WhatsApp, and reach real human support if you need help with wording or structure, which usually covers the most intensive stretch of planning for most couples.
Step 1: Choose Your Website Name and Link
The very first practical step in making a wedding website is deciding what it will be called and what link you will share with guests.
Most wedding website platforms generate a link automatically based on your names, such as a page address that reads something like yourname-and-partnername. Keep this link as short and easy to say out loud as possible, since you will be reading it to relatives over the phone and writing it on invitations.
Avoid long strings of numbers or unrelated words in your link if the platform allows you to customise it. A link that is easy to type correctly from memory will get more direct visits than one guests have to copy exactly from a message.
If you plan to also send a formal digital invitation, keep your wedding website link consistent across every message, the invitation graphic, and any save the date you send, so guests are never confused about which link is the real one.
Step 2: Pick a Design That Fits Your Wedding
Your wedding website's design should feel like a natural extension of your invitation and overall wedding style, not a separate and unrelated look.
Start with a template that matches your wedding's colour palette and overall tone, whether that is formal, relaxed, rustic, or modern. Most platforms offer a range of templates you can adjust rather than build from scratch, which saves significant time.
Choose a small number of photos that represent you as a couple, ideally including at least one clear, well lit photo near the top of the page so guests immediately recognise whose wedding they are viewing. Avoid overcrowding the homepage with too many images, since this can slow loading on mobile connections and overwhelm the layout.
Keep fonts legible, particularly for the essential details such as date, time, and venue. Decorative fonts can work well for headings and names, but the practical information should always be easy to read quickly on a small phone screen, which is how most guests will view your site.
Structuring your pages
Pages most wedding websites include
- Home page with your names, date, and a short welcome message
- Our story, a short account of how you met and got engaged
- Event details, including ceremony and reception times and locations
- Travel and accommodation information for out of town guests
- RSVP page or embedded form
- Registry or gift information, if you are including one
- FAQ page for common guest questions
- Photo gallery, which can be added before and updated after the wedding
Step 3: Write the Essential Content
Once your structure is set, the content itself needs to be clear, warm, and complete enough that guests never need to ask you a basic question again.
Begin with the home page welcome message. Keep it short and genuine rather than overly formal. Something like: We are so happy you are here. We cannot wait to celebrate our wedding with the people we love most, and we hope this page answers everything you need to know. Scroll down for all the details, or reach out any time if you have questions.
For the event details page, list every event guests are invited to, with its own time, location, and any relevant notes such as outdoor seating or a specific entrance to use. If you are hosting multiple events across a weekend, such as a welcome dinner and a farewell brunch, be explicit about which guests are invited to which event, since ambiguity here causes more confusion than almost any other wedding detail.
The travel and accommodation page should include the nearest airport, a few recommended places to stay across different price ranges, any hotel block details, and general transport guidance such as whether guests will need to arrange their own transport between the hotel and venue.
Writing your our story section
Keep your story section genuine and specific rather than generic. Include a real detail, such as where you first met, a small funny moment from early in your relationship, or how the proposal happened. Guests, especially those who do not know you both equally well, enjoy this section far more than a vague summary.
| Page | Must include | Nice to add |
|---|---|---|
| Home | Names, date, welcome message | Countdown timer |
| Event details | Time, venue, dress code | Map embed |
| Travel | Airport, accommodation options, transport notes | Local recommendations |
| RSVP | Deadline, attendance and meal fields | Song requests |
| FAQ | Answers to common logistical questions | Weather notes |
Step 4: Set Up Your RSVP System
The RSVP system is the working heart of a wedding website, and setting it up thoughtfully saves enormous time later in your planning.
Keep the RSVP form short. Ask only for what you genuinely need: whether the guest is attending, how many people are included under their invitation, and any meal preference if relevant. Every additional field reduces the number of guests who complete the form promptly.
Decide on your RSVP deadline early, and set it comfortably before the date your venue or caterer needs final numbers. This buffer gives you time to chase late replies without feeling rushed in the final days before the wedding.
If your platform allows guests to RSVP through WhatsApp rather than a web form, this often increases response rates significantly, since guests do not need to leave an app they already use and trust. My Joyfullday's RSVP system works this way, sending guests a simple message they can respond to directly without creating any new account.
RSVP setup checklist
- Decide your RSVP deadline based on your caterer's final count date
- Keep the form to essential fields only
- Choose how you want replies delivered, whether by form or WhatsApp
- Test the RSVP process yourself before sending it to guests
- Plan a reminder message for two to three weeks before the deadline
- Set aside time each week to review new responses as they arrive
Step 5: Add Travel and Logistics Details
Clear logistics information on your wedding website prevents the single largest category of repeated guest questions.
Start with transport. State clearly whether guests need to arrange their own transport, whether shuttles will be provided between a hotel and the venue, and what parking is available on site. If parking is limited, say so directly and suggest alternatives such as ride sharing or a nearby public parking area.
For destination or out of town weddings, list a small number of recommended accommodation options across different budgets rather than just one, so guests with different preferences can choose what suits them. If you have negotiated a hotel block or group rate, include the booking code and a deadline for guests to book under that rate.
Weather and dress code guidance also belongs here, particularly for outdoor weddings. A simple note such as, The ceremony will be outdoors on grass, so flat shoes are recommended, saves guests from an uncomfortable surprise on the day.
Logistics details worth including
- Nearest airport and estimated travel time to the venue
- Parking availability and any shuttle information
- Accommodation options across a few different price ranges
- Hotel block booking code and deadline, if applicable
- Weather and terrain notes relevant to footwear or clothing
- Local recommendations for guests arriving a day or two early
Step 6: Keep Your Website Updated
A wedding website is only as useful as it is current, so building a habit of updating it regularly is as important as building it in the first place.
Treat your wedding website as a living document rather than a one time project. As soon as a detail changes, whether it is a venue room, a start time, or a new accommodation recommendation, update the page immediately rather than relying on a separate message to explain the change.
Set a recurring reminder for yourself, perhaps every two weeks during the main planning period, to review the site and confirm everything is still accurate. This is especially important in the final month before the wedding, when details such as parking, weather, and final schedules are often confirmed late.
After the wedding, many couples repurpose the same website to share photos and a thank you message, which guests already know how to find since they have the link saved from before the wedding.
A simple update routine
Update routine checklist
- Review the site every two weeks during active planning
- Update immediately after any venue, timing, or vendor change
- Confirm travel and accommodation details are still accurate a month out
- Add a final details page or section about two weeks before the wedding
- Switch the homepage to a thank you message and photos after the wedding
Common Mistakes to Avoid
Most problems couples run into with their wedding website come from a short list of avoidable mistakes rather than any flaw in the format itself.
The first common mistake is overcomplicating the homepage with too much text or too many images, which can bury the essential details guests are actually looking for. Keep the homepage simple and let the inner pages carry the detail.
The second mistake is forgetting to test the site on a phone. Most guests will open your link on a mobile device, so if the layout, fonts, or RSVP form do not work well on a small screen, a large share of your guests will struggle before they even reach the information they need.
The third mistake is launching the website without a clear RSVP deadline, or setting a deadline so close to the wedding that there is no time to chase replies. Revisit the timeline guidance from earlier sections and build in a sensible buffer.
The fourth mistake is sharing the website link inconsistently, such as a slightly different version on the invitation compared to the one on a save the date, which can send guests to a broken link or an older, outdated page.
Final checks before sharing your wedding website
- Tested the site and RSVP form on at least one phone and one computer
- Confirmed every link, including registry and map links, actually works
- Checked spelling of names, venue, and address details carefully
- Confirmed the RSVP deadline is clearly stated and realistic
- Shared the exact same link everywhere, from invitation to save the date
Bringing It All Together
Building a wedding website is a manageable project when broken into clear steps, and the result saves you far more time than it takes to set up.
Start by choosing a platform that fits how you and your guests actually communicate, then secure a simple, memorable link. Build your pages around the real questions guests will have, write your content in a warm and specific voice, and set up an RSVP system that asks for only what you truly need.
From there, the ongoing work is mostly about consistency: keeping details current, sending timely reminders, and making sure the same accurate link reaches every guest. None of this requires technical skill, only a clear plan and a little regular attention as your wedding date approaches.
Whether you build your wedding website on a simple page builder or a fuller platform such as My Joyfullday that combines the website, invitation, and WhatsApp based RSVP system in one place, the goal stays the same: giving your guests everything they need to join you with confidence, and giving yourself one less thing to worry about as the big day gets closer.